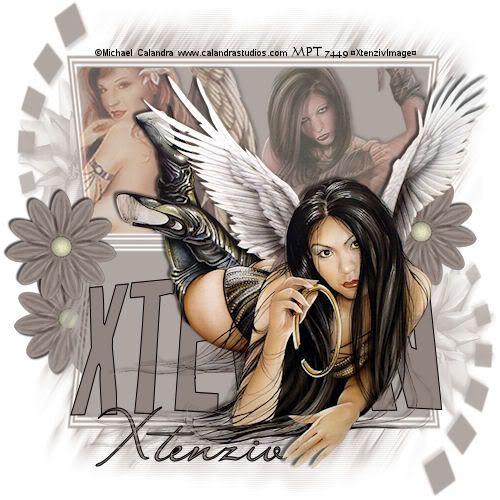
New tut posted on my tutorial blog http://xtenztuts.blogspot.ca
Using the beautiful artwork of ted hammond and LHD Scraps both available at CDO.


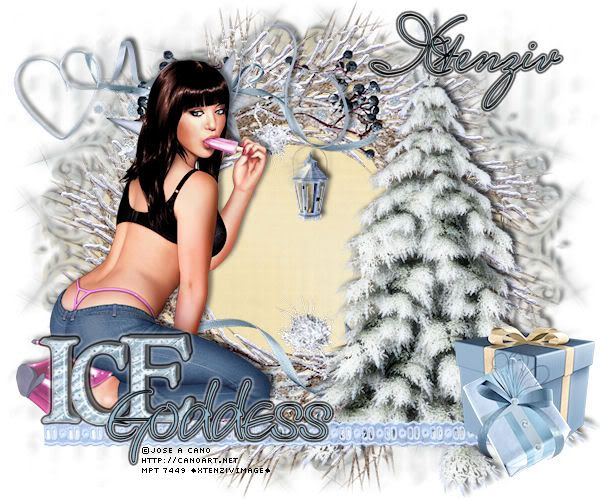
I am using the beautiful Artwork
of Jose Cano You need a license to use his
art please visit his site to purchase his art for you own personal use!
Scrapkit Ice Angel by Sarah at Hungry Hill
Just Click on the tag to take you to the tut.
New Tut just posted using a fantastic kit by Stu of Creative Crazy Scraps I called it Grave Rocker. Click the preview below to go to my tut page!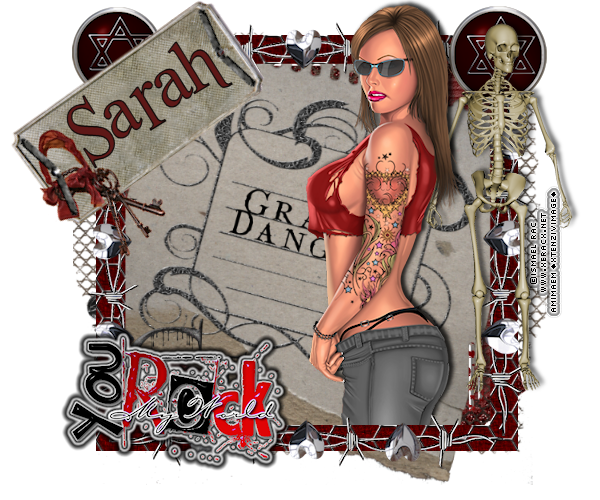

After waiting for almost 2 months for my computer to come home..lol i finally managed to write a tut tutorial i love chili's new wintery kits this one Remember the time and a pink one called Winter Breeze gave me the inspiration. I posted the tut on my tut blog just click on the image to take you to the tutorial.
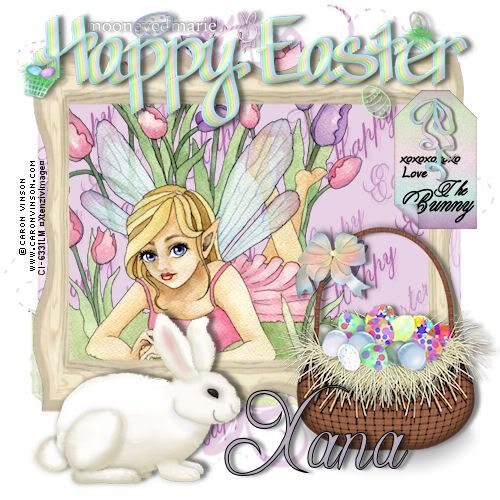
I am using a ©Caron Vison image you need a
licence to use this art which can be purchased from CILM
Scrapkit Easter By
MoonEyedMarie
** A dear friend please leave her some love when you download her kit!
I even capitolized the MEM part of tag Title for MoonEyedMarie.HUgzz***
Font: Freebooter Script
(Just having the .TTF file open and minimized on your task bar will allow PsP to detect your font without you having to install it.)
Mask is Gabeez Mask3 Place this file in your masks folder.
This Tutorial was created using Corel's Paint Shop Pro® with the understanding that you have a working knowledge of this program.
(I used PhotoX2 but you should have no trouble recreating it with earlier versions of PSP)
Open a new image 500 X 500 transparent and flood fill white.
Click on lavender HE layer of MoonEyedMaries easter kit copy and paste to new image as a new layer.
Apply GabeeMask 3, source luminance> show all mask> fit to layer.
right click the mask in layer pallet, merge group.
***Now the next 2 steps depend on the image you use with your tag (for eg. if your image will fit under the frame without sticking out the top then you can skip this step.)**
Open and copy the image layer1 of CaronVison tube (fairy and the flowers) paste as new layer and resize by 80%
Move your image around a bit so the solid part of the mask shows the whole fairy re-apply GabeeMask 3, source luminance> show all mask> fit to layer.
(all this does is takes off the rough edges and blends it all together)
Click on wood frame layer of MoonEyedMaries easter kit copy and paste as new layer,
you'll notice it doesn't fit so
using your pick or deform tool(it looks like an arrow) and move the sides in untill it fits the edges of your mask.
Click on tag layer of MoonEyedMaries easter kit copy and paste as new layer resize by 40%
** Here i added xoxox Love the bunny to the tag but you can write whatever you like.
i suggest using a small script
type font color black.***
Click on ribbon layer of MoonEyedMaries easter kit copy and paste as new layer resize by 50% twice then again by 80%
Add a drop shadow V= -1 H=1 Opac= 57 blur=2 color black
Click on basket layer of MoonEyedMaries easter kit copy and paste as new layer resize by 60%
Add a drop shadow V= -2 H=2 Opac= 57 blur=4 color black
Click on open eye rabbit layer of MoonEyedMaries easter kit copy and paste as new layer resize by 60%
Add a drop shadow V= -2 H=2 Opac= 57 blur=4 color black
Click on open wordart layer of MoonEyedMaries easter kit copy and paste as new layer resize by 80%
Add a drop shadow V= -2 H=2 Opac= 57 blur=4 color black
Add your name i used freebooter script BGcolor b7acbe and stroke black 000000.
Add your license info and taggers mark if any.
Merge All Flatten and your done.
GREAT JOB!
THANK YOU
SO MUCH FOR TRYING MY TUT!
This tutorial is my own creation. Any similarity to any other tut is coincidental and completely unintentional.
Please do not copy or upload it to any other website. You may share the link to the blog or the tutorial site
☼XtenzivImage☼ ©2009 -All artwork used remains the copyright of the creators
☼XtenzivImage☼

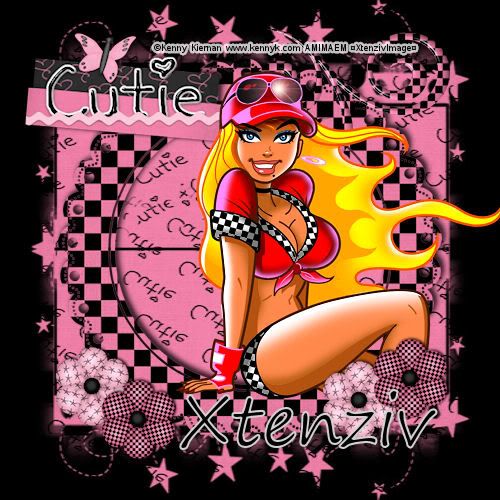
I am using a ©Kenny Kiernan image you need a
licence to use his art which can be purchased from Artistic Minds Inc
Scrapkit Emo Cutie By Kristins Wicked Scrapz
Font: Segoe-Print
(Just having the .TTF file open and minimized on your task bar will allow PsP to detect your font
without you having to install it.)
Mask is Gabeez Mask42 Place this file in your masks folder.
This Tutorial was created using Corel's Paint Shop Pro® with the understanding
that you have a working knowledge of this program.
(I used PhotoX2 but you should have no trouble recreating it with earlier versions of PSP)
Open a new image 500 X 500 transparent and flood fill with a color that compliments the page it's being posted on,
i Chose Black because my desktop background is black.
Open EC Paper4 and paste to new image as a new layer.
Apply GabeeMask 42, source luminance> show all mask> fit to layer.
right click the mask in layer pallet, merge group.
Duplicate this layer and Image flip move around so you see the film lines line up (see my tag for referance).
Merge the mask layers together.
Open EC Frame 2 resize by 80% copy and paste to image as a new layer.
Add a drop shadow V -2 H 3 Opac 86 Blur 8 Color black.
Now grab your pick or deform tool and select your mask layer drag the sides out so they expand outside frame 2
Open EC Wordart 1 resize by 70% copy and paste to image as a new layer.
Open EC Flower 3 resize by 50% then by 70% copy and paste to image as a new layer.
Add a drop shadow V -2 H 3 Opac 86 Blur 8 Color black then Duplicate flower.
Open EC Flower 4 resize by 50% then by 70% copy and paste to image as a new layer.
Add a drop shadow V -2 H 3 Opac 86 Blur 8 Color black then Duplicate flower.
Arrange the flowers any way you like around the bottom
Open EC Doodle 2 resize by 50% image flip copy and paste to image as a new layer.
I put mine at the top off to the side it looked good up there with a white background so you can
judge your tag and decide which elements suit it best.
Add your main tube I used one of Kennys Nascar Babes.
Add a drop shadow V -2 H 3 Opac 86 Blur 8 Color black
On tube layer using the lasso or freehand selection tool >Point to point> No feather> Anti-alias checked
With kknascarbabe2 image I selected the portion of the tube from the flowers down and deleted selection.
Add your name i used Segoe Print, size 68,stroke 2
Change forground color to #d1d1d1 and background to #000000 Black
Add all your copyrights, **note if you used a black bkg make sure your © info is in a color you can see**
(or use Eyecandy 4000 Gradiant glow : glow width 3.00, soft corners 25 opac 100 and check draw only outside)
Add your license info and taggers mark if any.
Merge All Flatten and your done.
GREAT JOB!
THANK YOU
SO MUCH FOR TRYING MY TUT!

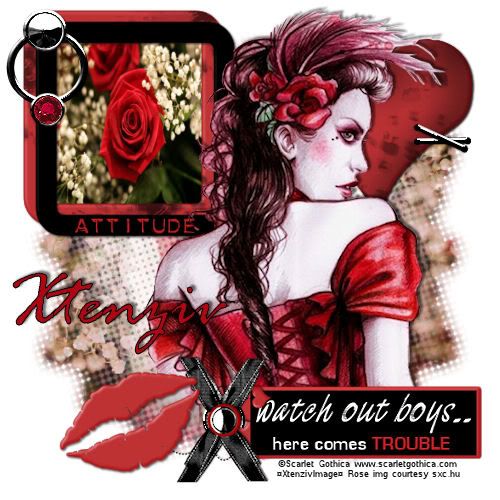
I am using an image from © Scarlet Gothica
This tutorial is my own creation. Any similarity to any other tut is coincidental and completely unintentional.
Please do not copy it, upload it to another website you may share the link to the blog or the tutorial page directly.
☼XtenzivImage☼ ©2009 -All artwork used remains the copyright of the creators
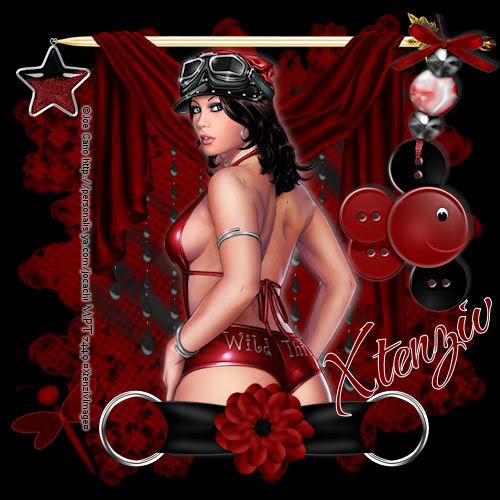


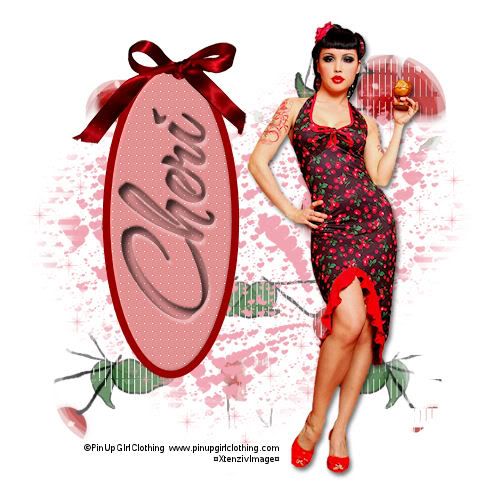
I am using an image from The link to Pin Up Girl Clothing
Image Tubed by ME,XtenzivImage HERE
Font: The Nautigal
(Just having the .TTF file open and minimized on your task bar will allow PsP to detect your font without you having to install it.)
XtenzCherryPaper1: By XtenzivImage,
HERE
Scrap Element bow by XtenzivImage,HERE
Mask is WSL_Mask 170 and WSL_Mask79 By Chelle
Masks are found in the navigation link.
Place these files in your masks folder.
This Tutorial was created using Corel's Paint Shop Pro® with the understanding
that you have a working knowledge of this program.
(I used PhotoX2 but you should have no trouble recreating it
with earlier versions of PSP)
Open a new image 500 X 500 transparent and flood fill white
Open XtenzCherryPaper1 copy and paste to new image as a new layer.
Apply WSL_Mask79, source luminance> show all mask> fit to layer.
right click the mask in layer pallet, merge group a pop up may ask if you want it merged to layer below click yes
Add new layer flood fill with #f1a4b1
apply WSL_Mask170, source luminance, show all mask, fit to layer.
right click mask in layer pallet, merge group to layer below Yes.
click on your preset shape Elipse in your materials pallet make your Forground #980000 background null or transparent>
width 8, draw out a long oval shape.
Convert to raster layer
With your magic wand tool click inside shape, Mode: replace> Matchmode: RGB> Tolerance: 42 >checked contiguous and Antialias >Feather:0
outside selected in drop down.
Selections modify > expand > by 2 pixels with it still selected add a new raster layer then change background color in materials pallet to #de8e8e and flood fill selection.
Effects> 3d effects > inner bevel> Bevel 2 > Width 5 > Smooth/depth = 1> Ambiance/Shine = 0 > color white >Angle 315
> Intensity 45 > Elevation 35.
Effects> texture effects> weave > Gap size 1> width 7> opacity 3> weave color black > gap color white > check fill gaps.
Open XtenzRedbowpsp2_4CherryChic and paste as new layer move to the top of the oval frame.
Add a new Raster layer. Click your text tool and add your name i used The Nautigal Font size 135 >stroke 1 >forground: black> background: #980000> as a: floating
I dedicate this tag to Cheri of Wildz Creationz her tuts have taught me lots.
I hope to tag a few of my favorite tut writers in my upcoming tuts so watch for yours!
Free rotate your name layer left by 90, move to center of your frame.
Selections>Load/Save Selection>Save Selection to Alpha Channel
while your font has the "marching ants" around it hit delete on your keyboard.
Selections>Load/Save Selection>Load Selection From Alpha Channel.
Apply the cutout filter Effects> 3d effects>Cutout settings> Vert/Horz = 5 Opac= 81 Blur= 10 shadow color black. ok
Add a drop shadow >Vert: -1> Horiz: 0> Opacity: 32> Blur: 2>Color: Black
Adjust> Brightness and contrast settings Brightness = -35 Contrast = 10.
Add a second drop shadow Settings Vert=4 Horiz=2 OPac= 35 Blur 3 color White.
Add main tube resize by 80% and move over to the right add a drop shadow I used V -4 H 2 Opac 50 Blurr 6.
Add all your copyrights, license and taggers mark if any.
Merge All Flatten and your done.
GREAT JOB!
THANK YOU
SO MUCH FOR TRYING MY TUT!
This tutorial is my own creation. Any similarity to any other tut is coincidental and completely unintentional.
Please do not copy it, upload it to another website you may share the link to the blog or the tutorial page directly.
☼XtenzivImage☼
©2009-All artwork used remains the copyright of the creators
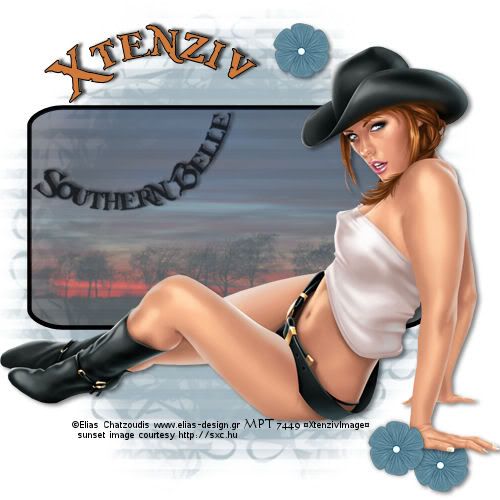
I am using an Elias Chatzoudis Image, beautiful artwork you'll need a
licence to use which can be purchased from
My Psp Tubes
Font: Caribbean Island
(Just having .TTF open and minimized on your task bar will allow PsP to detect font without you having to install it.)
ScrapElement: By XtenzivImage, using CU scripts by BlueBird Thank You.
HERE
Mask is called Mask-Swirl but i am unsure of where it's from.
If this mask is yours please let me know and i will either, remove it from my supplies or give you credit.
Right click and save this file into your masks folder.
Sunset Image courtesy http://sxc.hu don't forget to include them in your credits.
This Tutorial was created using Corel's Paint Shop Pro® with the understanding
that you have a working knowledge of this program.
(I used PhotoX2 but you should have no trouble recreating it
with earlier versions of PSP)
Open a new image 500 X 500 transparent and flood fill white
Add new layer flood fill with #a4b6bf
apply mask swirl, source luminance, show all mask, fit to layer.
right click mask in layer pallet, merge group to layer below Yes.
Make sure your forground is set to black, and background
null.
Somewhere in the middle of the canvas,draw out a rectangle approx 400 X 22o
Using preset shape, rounded rectangle. Anti-alias and create as vector checked.
Select your magic wand, then click inside rectangle layer to make a selection,leaving it selected
Add a new layer, then selections, modify, expand by 2
Open sxc.hu6 and copy, return to tag image and paste into selection drop opacity of this layer down to 50%
This time in the middle of the canvas, draw an Elipse circle approx 230 X 240
Using preset shape, Elipse. Anti-alias and create as vector checked.
Duplicate the vector circle rename copy layer belle and in the layers pallette X out the "belle" layer's visability.
Click text tool and move it over your vector shape until the A has a rounded line under it
click to add text, write out your name i used Caribbean Island size 54.
I used a color from her hair and black as stoke color add a drop shadow.
Once satisfied click on the + sign on the vector layer it will show your text and circle layers seperately, X out circle layer,
click on layer pallet and convert to raster layer then move name to left side above your rectangle frame.
Un X your belle layer and click on layer so vector shape activates, now click on pen tool, move tool over the bottom node on your vector shape right click on node,
Edit > reverse path, then select your text tool again move over vector shape until curved line appears under A type out "Southern Belle"
using Caribbean Island size 36 color Black.
Once satisfied again click on + sign and X out circle layer, right click and convert to raster layer.
Free rotate layer right by 40 move into frame. add drop shadow and reduce layer opacity to 75%
Add your Main Tube add a drop shadow im using V=2 H=3 opacity 50 and blurr 6
Open Belle6PetalXtenziv.png copy to canvas resize by 20% and duplicate flower twice and move them around tag until your happy with placement add a drop shadow to each flower.
Add all your copyrights, license and taggers mark if any.
Merge All Flatten and your done.
GREAT JOB!
THANK YOU
SO MUCH FOR TRYING MY TUT!
This tutorial is my own creation. Any similarity to any other tut is coincidental and completely unintentional.
Please do not copy it, upload it to another website.
You may share the link to the blog or the tutorial page directly.
☼XtenzivImage☼ ©2009 -All artwork used remains the copyright of the creators